Seam Strengthening Technique With Grrrip Glue
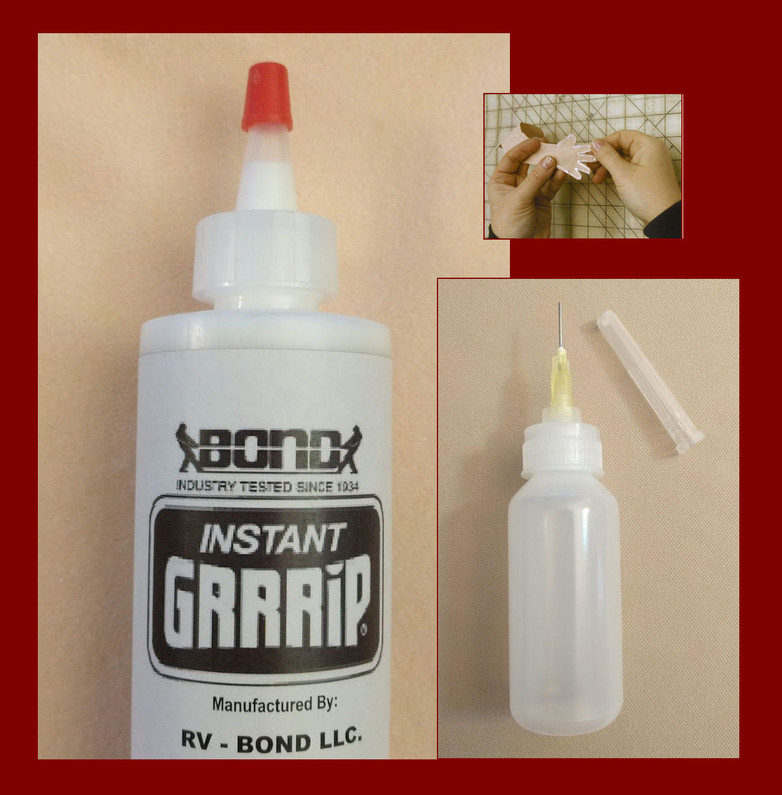
Doll Making Seam Strengthening Technique Using Grrrip Glue and Applicator Bottle
Taught by Judy Skeel and Gloria “Mimi” Winer
Because Grrrip Glue is a little stretchier than other white glues when dry, it is the perfect substance for strengthening any seam in a doll body, particularly those subject to extra stress and blowouts such as the fingers and the center seam of the face.
1) Transfer the Grrrip Glue into the applicator bottle.
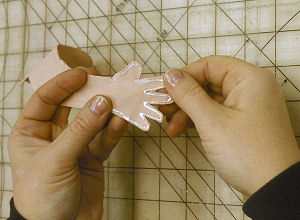
2) Apply a tiny line of glue directly onto the thread line. Don’t use a lot, but be sure it is a continuous line from wrist to wrist going along all the fingers. This is also how you repair a clipped a thread from trimming the fingers.
3) With your thumb lightly apply pressure on the thread line and pull away to the edge of the seam allowance to spread the glue. This will make a thin coating of glue embedded into the fibers to strengthen the seam allowance that will still have a little “give” when turning and stuffing. Repeat for the second side.
4) Allow the fingers to dry before trying to turn them so you don’t glue them closed!
5) Follow the same steps for the center seam of the face and you’ll be amazed at the difference this makes in strengthening the seams and helping the center face seam to be less obvious.
Recent Posts
-
Seam Strengthening Technique With Grrrip Glue
Doll Making Seam Strengthening Technique Using Grrrip Glue and Applicator BottleTaught by Judy …15th Dec 2022 -
Doll Designer Colette Wolff
Back to Colette's Patterns... Click HERE!Designer ProfileCOLETTE WOLFF: A STITCHER'S JOURNEY****&nbs …22nd Nov 2022 -
Customer Showcase - Judi Ward's Designs
Dolls Made from Judi's Designs by Customers! Find Judi's Cloth Doll Patterns by Category: …22nd Aug 2020


